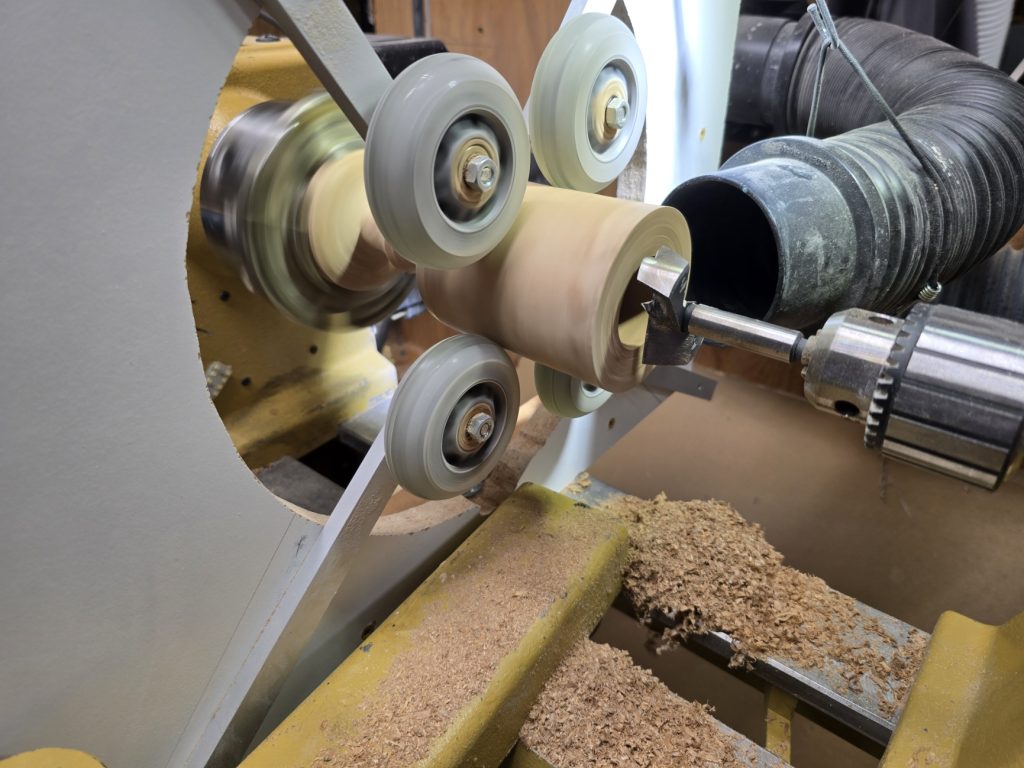
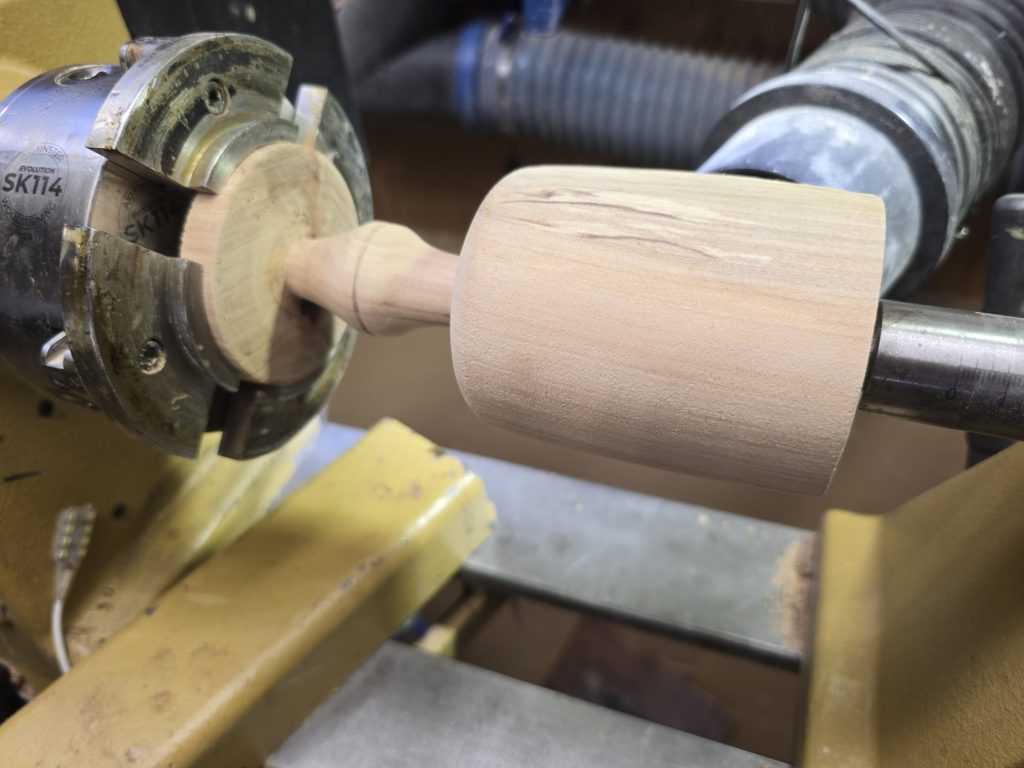
Project 102

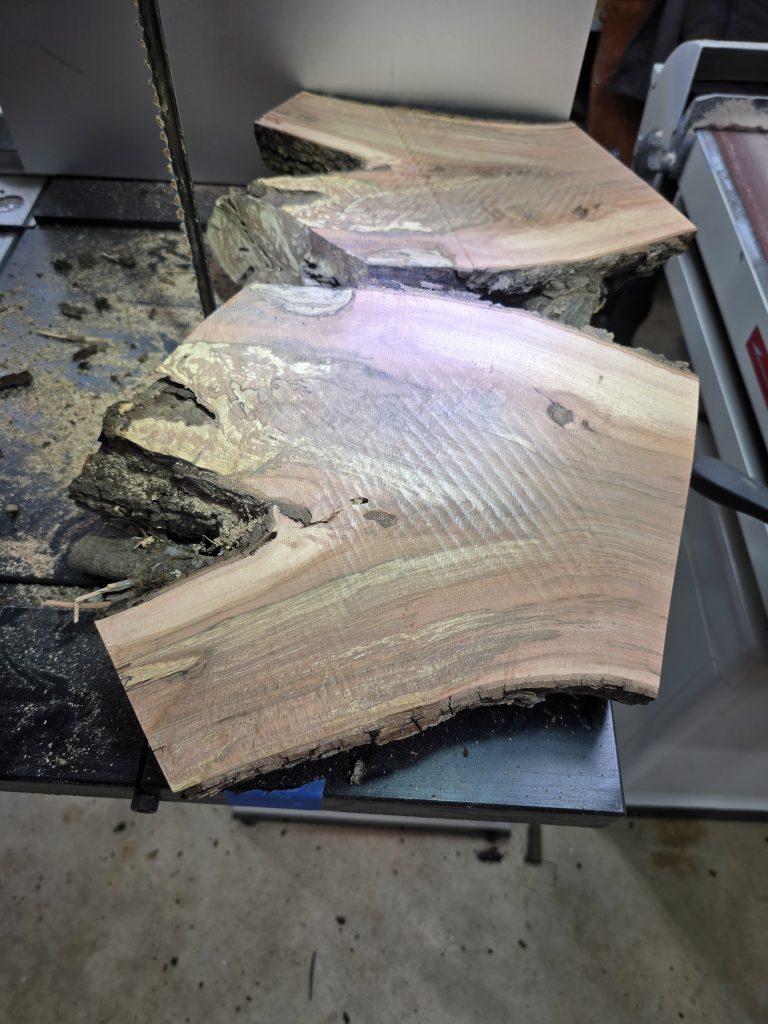
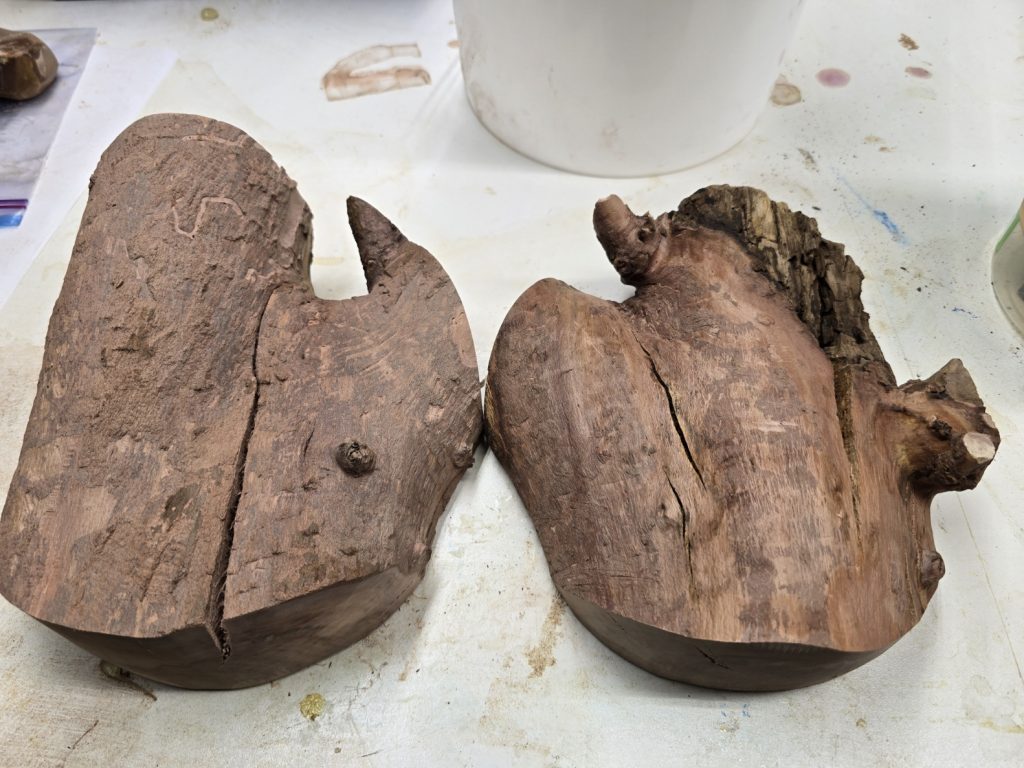
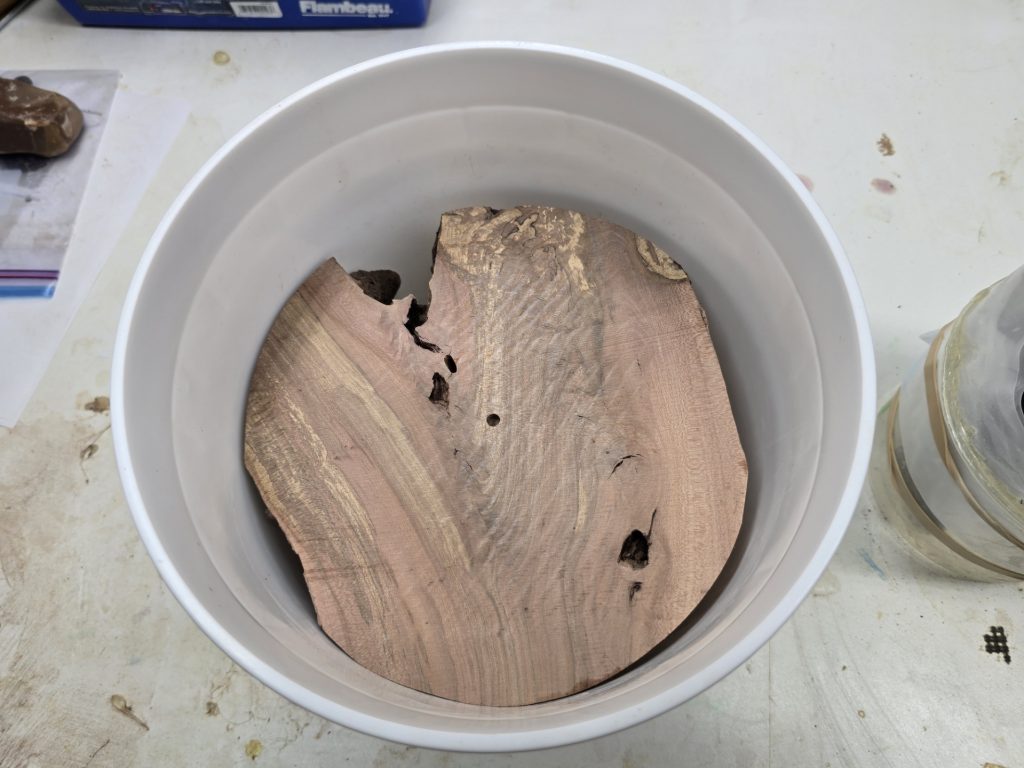
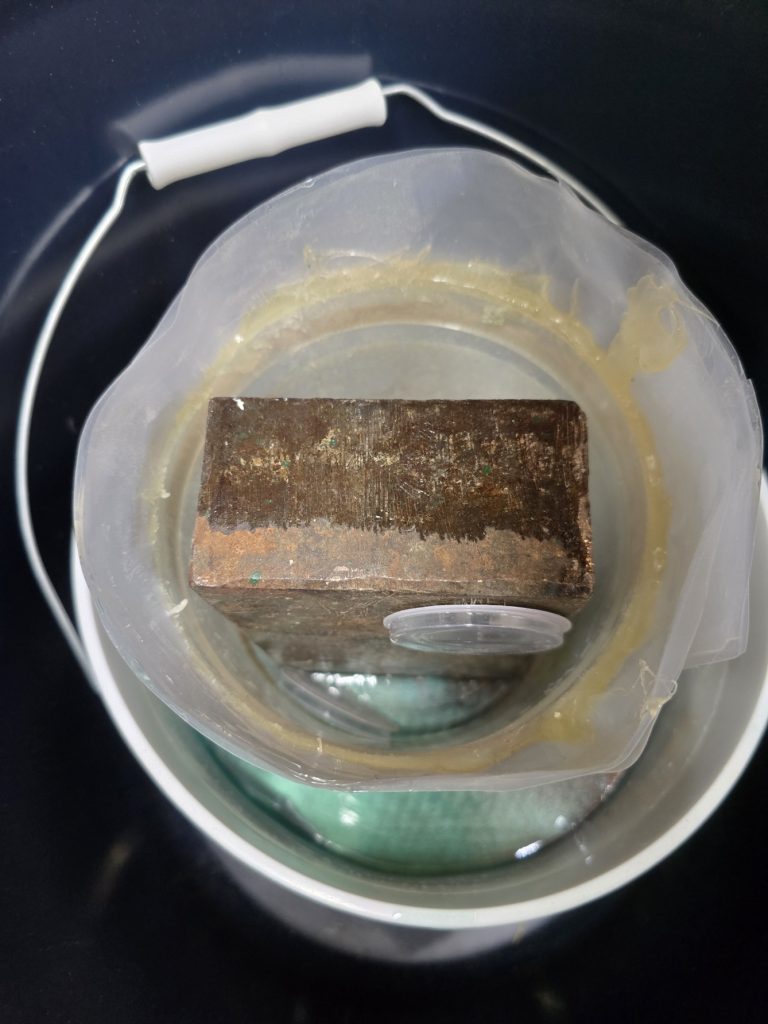
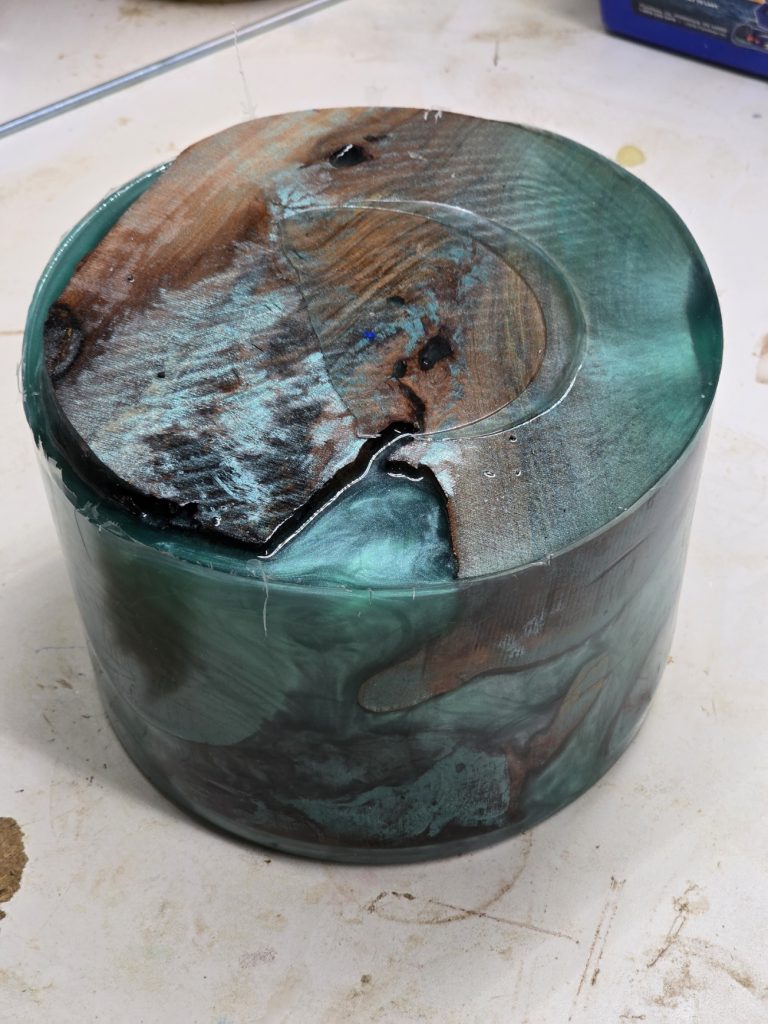
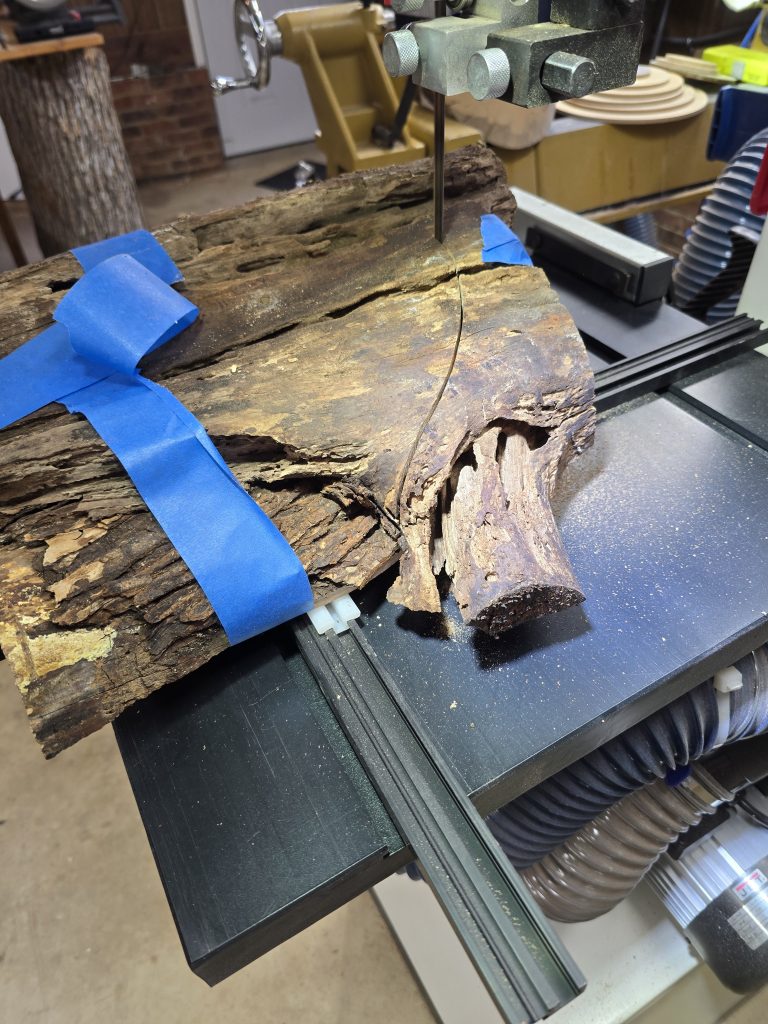
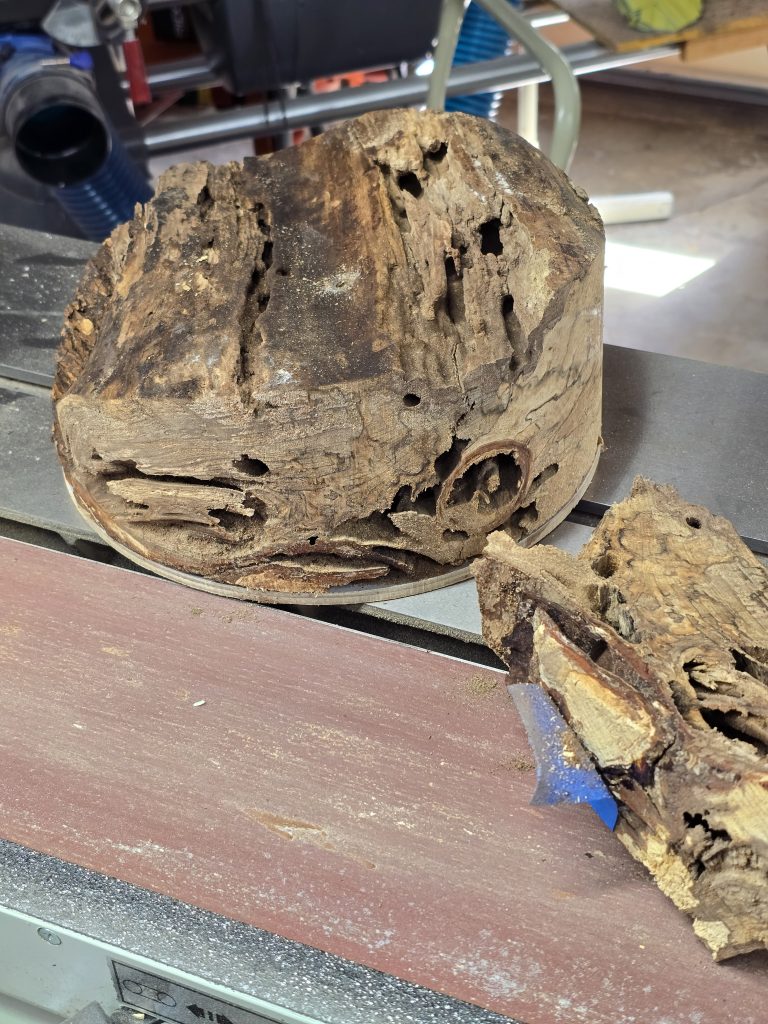
Here I took a length of split wood, cut it into 3rds and then split those into small sections. Next I stabilized the wood over several days as it was weak and punky. A bright green epoxy was mixed and added to the sections. The project is now in the pressure pot for a couple days.

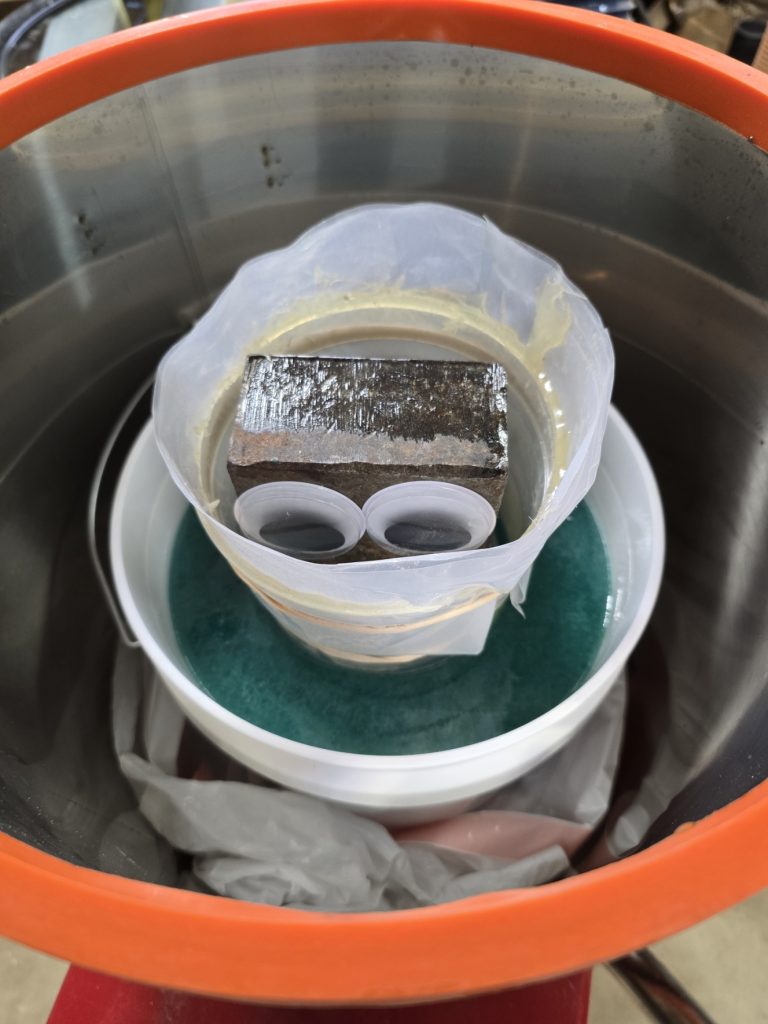
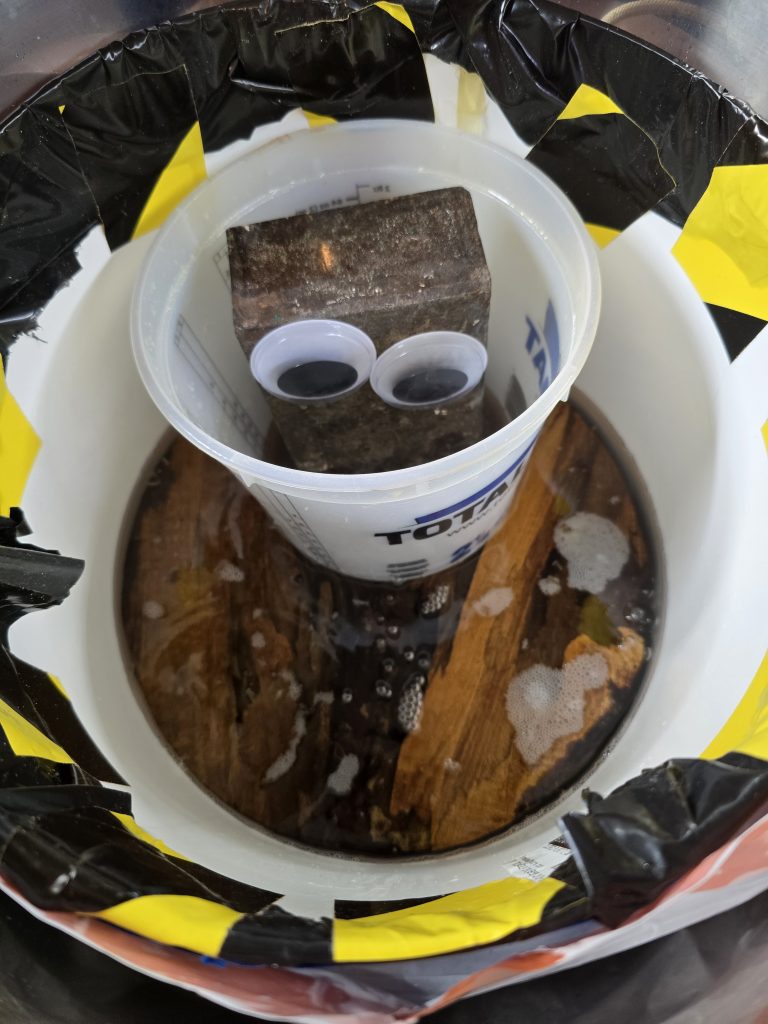
The epoxy is added and the wood, as expected, floats. A circle of wood with Bob, the weight, are added to sink the wood into the epoxy for the vacuum chamber and pressure pot.

Project 101

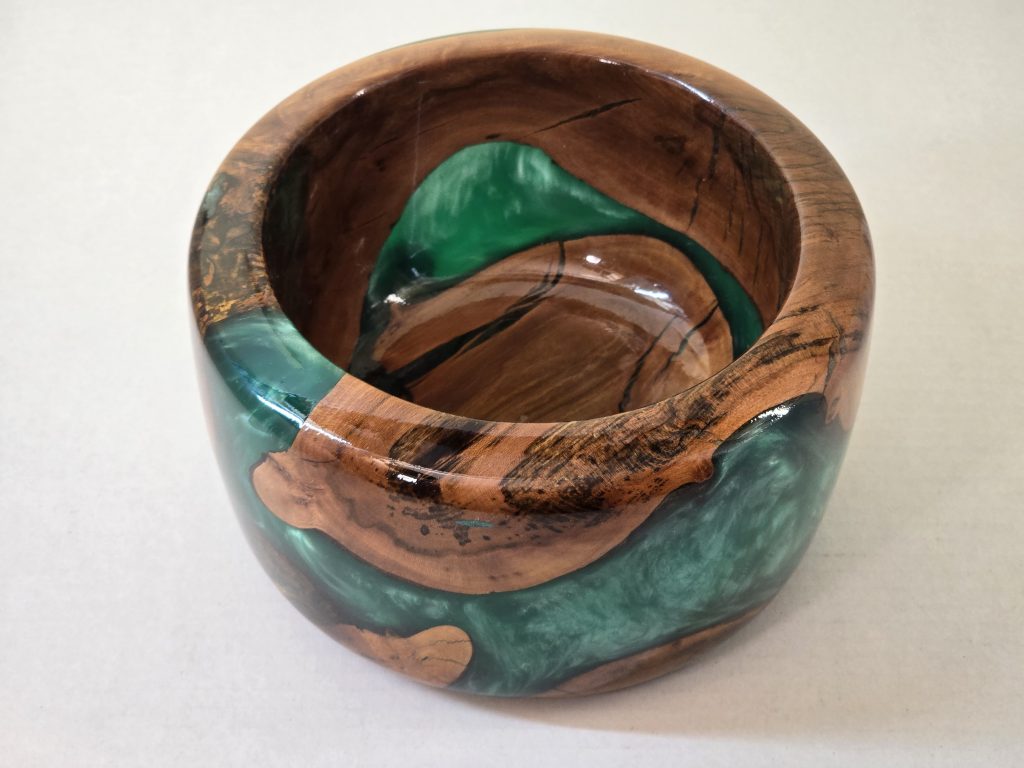
This bowl project starts with a crotch piece from a dogwood tree that needed to be taken down. It is cast with a light green epoxy.

Bob, the steel chunk, held the wood down in the epoxy during the setting. After 2 days in the pressure pot the epoxy is firm and the casting is ready to come out.
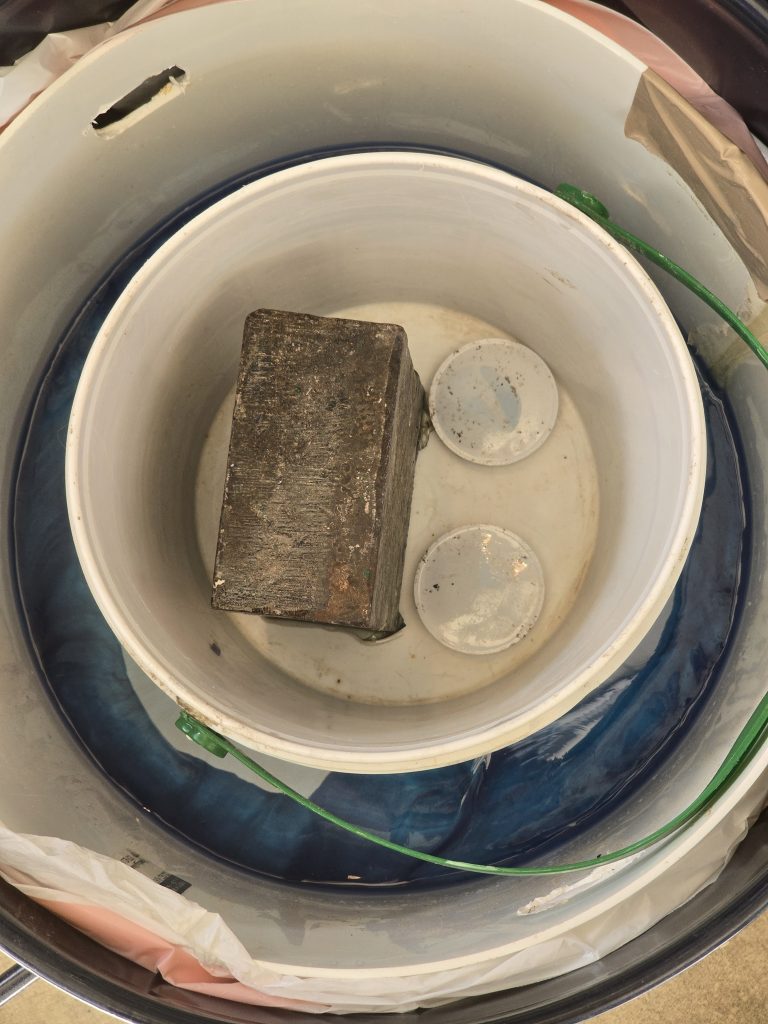
A tenon is glued on to the casting. The tenon has a faceplate ring attached so the it can be securely held on the lathe. Bob helped the glue make a firm contact. BTW, Bob lost his an eye on a previous job and the other with this one in the pressure pot. He is patiently waiting for “the boss” to replace them.
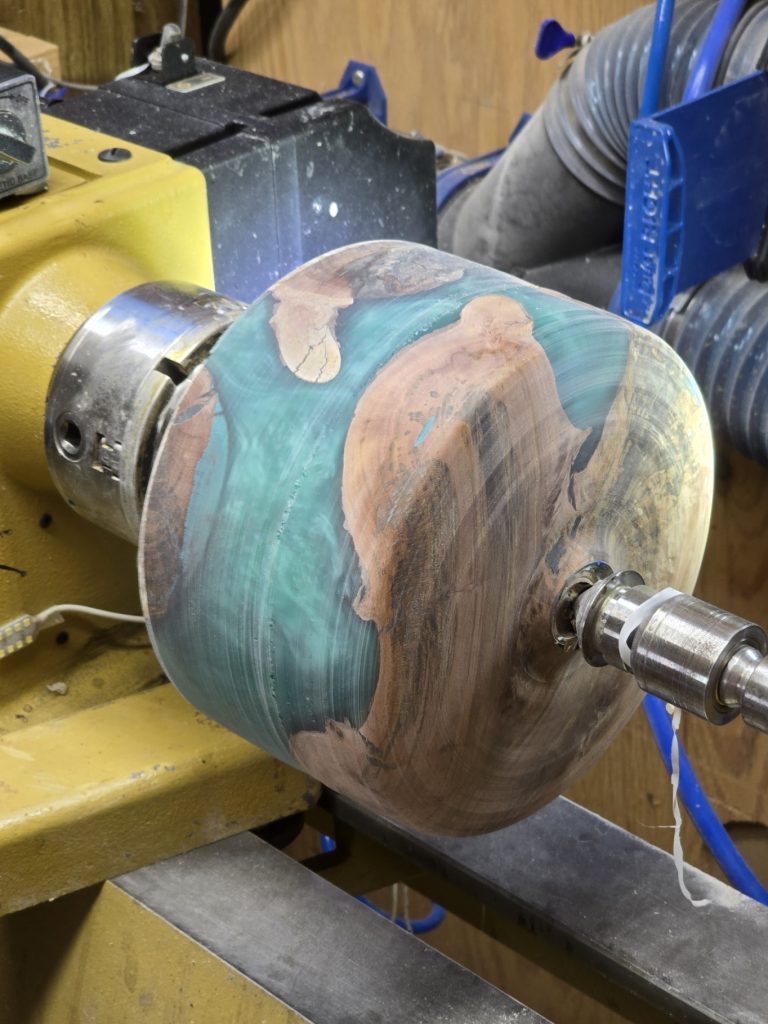
The casting is mounted on the lathe and turning has begun.
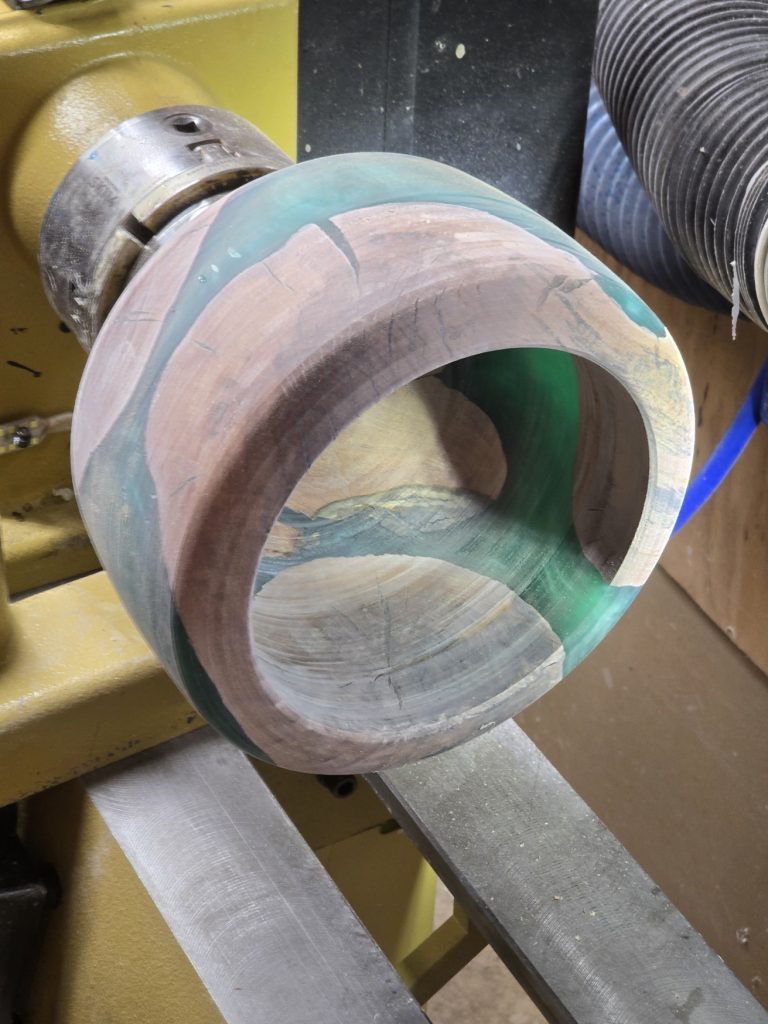
Most of the tooling is done and most of the sanding is complete.
Another view
Sanding is done to 180 grit and a clear epoxy coat is added to fill any small holes.
The bowl is sanded to 600 grit from about 60 grit and a sealer is applied, then layers of finish.
The bowl is nearly done. It is still has the chuck attached, but the tenon will be removed next and the bowl will stand on its own.

Project 97

This is a fun project made up of about a dozen sticks cast in a bright red epoxy.

I could not locate a tall slender bucket for this project, so after drying the sticks in an oven for several days, I bundled them together and wrapped them with string and then plastic sheeting. I hot glued the plastic overlap and hot glued the bundle to a wooden base.
The casting with most of the plastic and duct tape covering removed.

Project 96

This is a custom project to make a vertical cup for holding remotes.

These pieces of punky wood were first stabilized to increase strength and durability. Here they are arranged in a small plastic bucket in preparation for casting with epoxy.
Flash Bronze and Dark Scarlet mica powder were added to the epoxy for a rich deep brown sparkly tone.
Once cast with the tinted epoxy, having the bubbles reduced in the vacuum chamber and then several days in the pressure pot, the casting is shown here right out of the pot before being released from the bucket. The metal washers on top were to weigh down the wood as it was buoyant.
The casting once after removal from the bucket. The lathe has other projects in line, so this one will have to wait for a week or two before it it turned.
Finished.

Project 93 Goblets

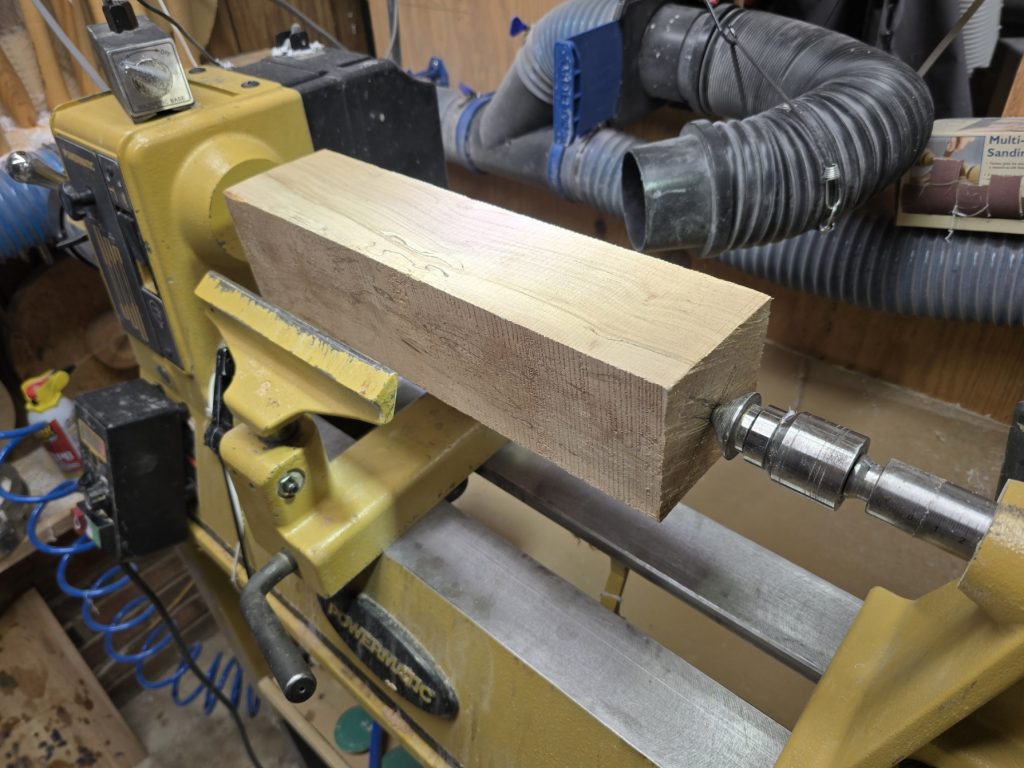
A couple of goblets are planned. Hopefully, I can get both from this one block so the grain matches better. I don’t do much spindle (between points with grain going in one direction) turning, but it is nice to take a break from bowls.
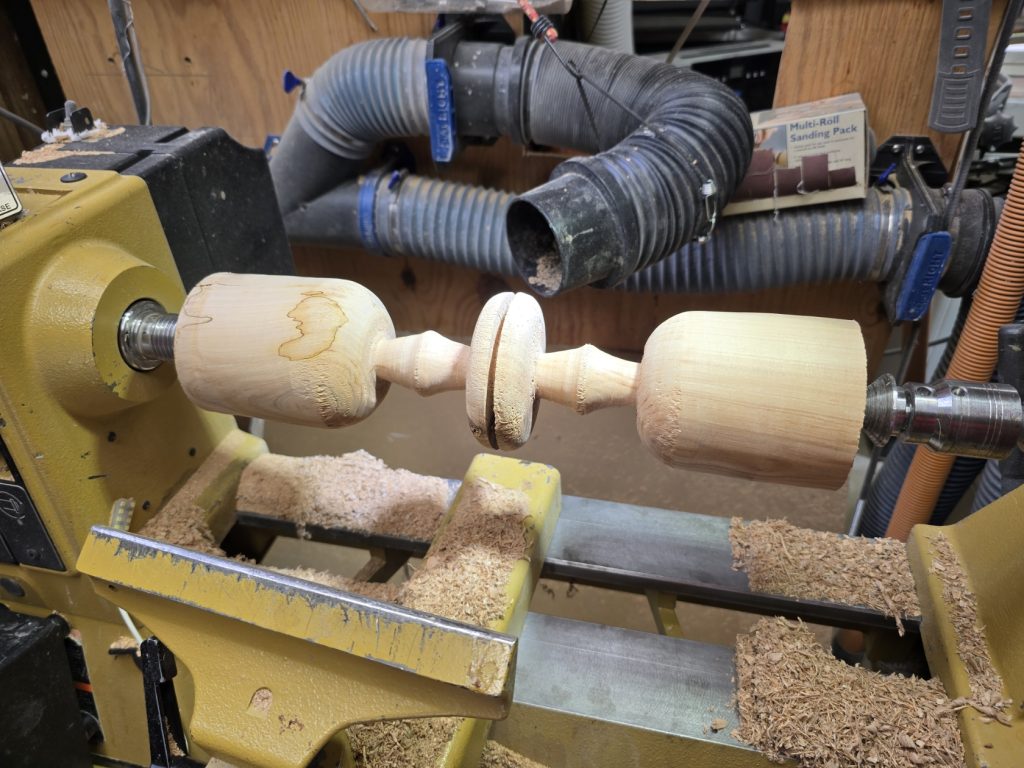
Rough turned each as I look to match the set.
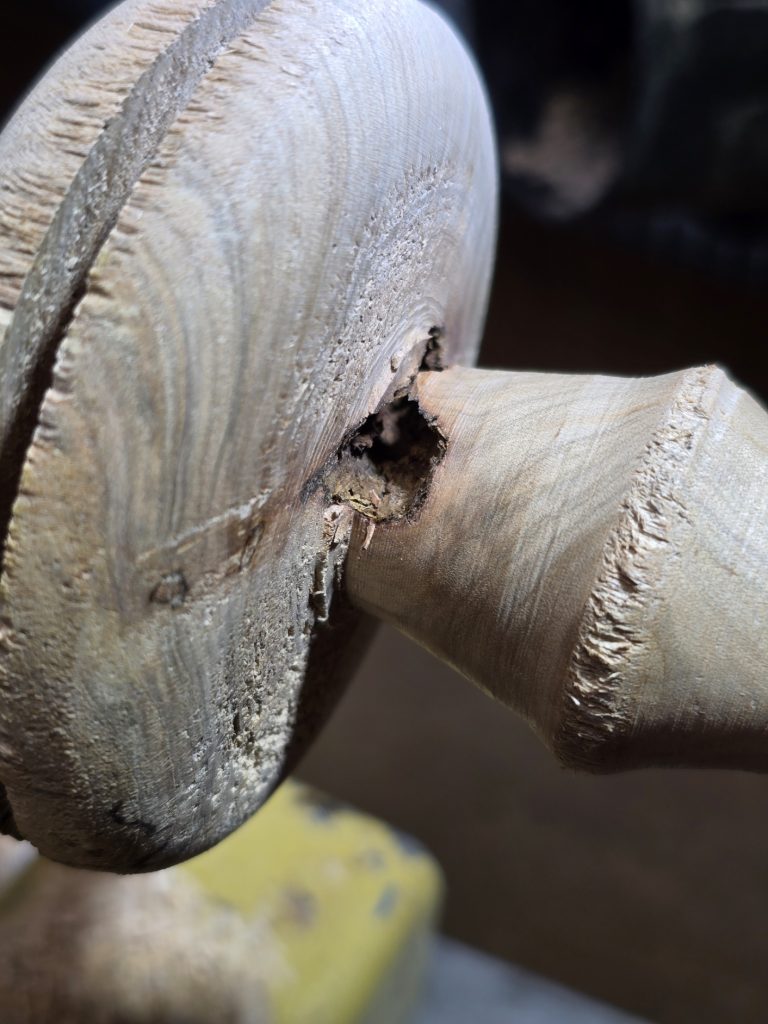
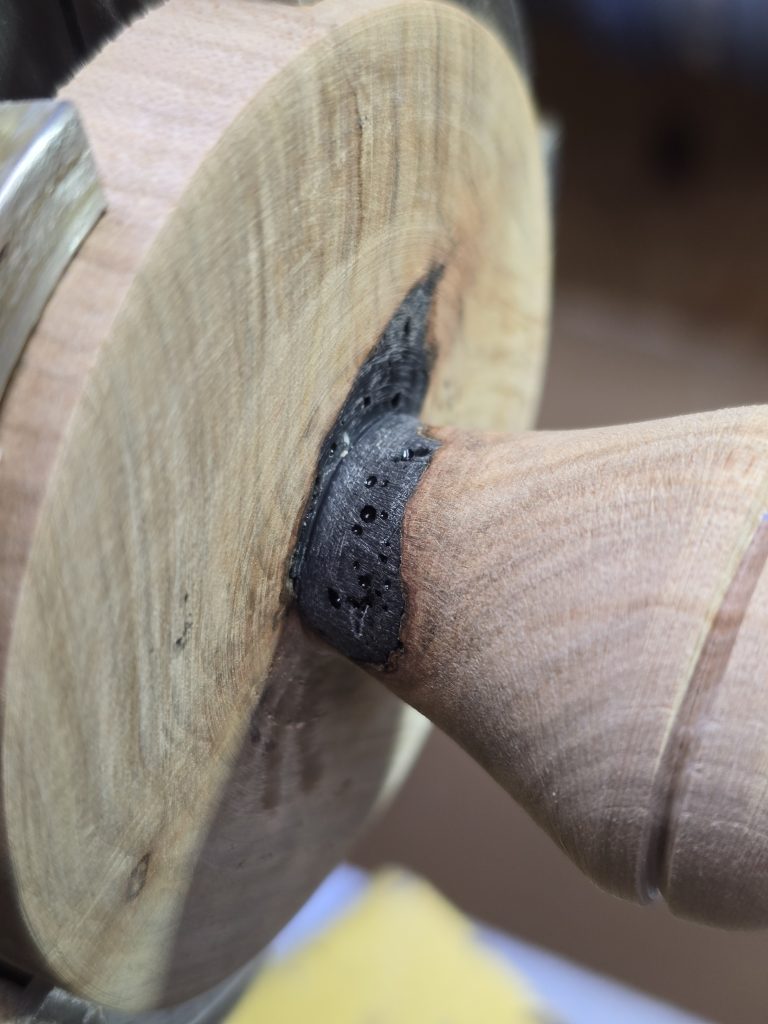
Once I turned the blank down, I found a grub hole going from one goblet base through to the other base. I have filled with black CA glue. We will see how this turns (yes, a pun) out.
Much black CA glue was added to fill this hole. Still have more to add to where the hole comes through the bottom as well as the spots here on top.
My stead-i-rest holds the goblet while I bore the inside.

I fear the goblet stem will break under the force while the final turning and sanding it done, so I used a cup shaped live center against the inside bottom for added stability.

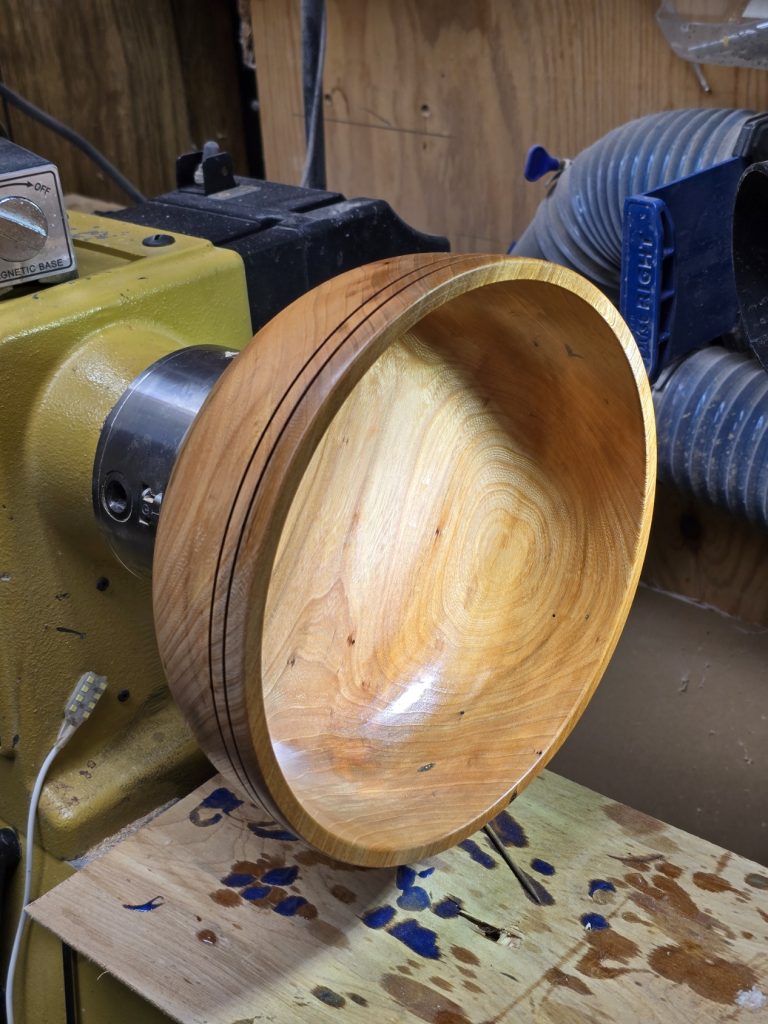
Final turning and sanding done. Upper section coated with sanding sealer.

Project 90

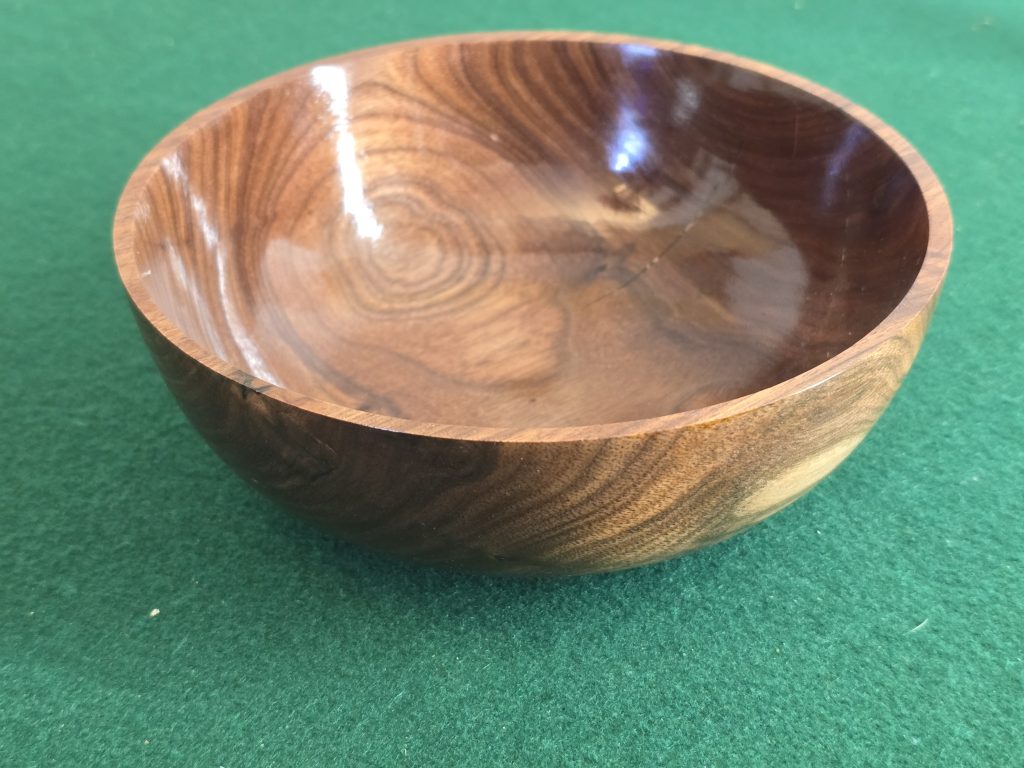
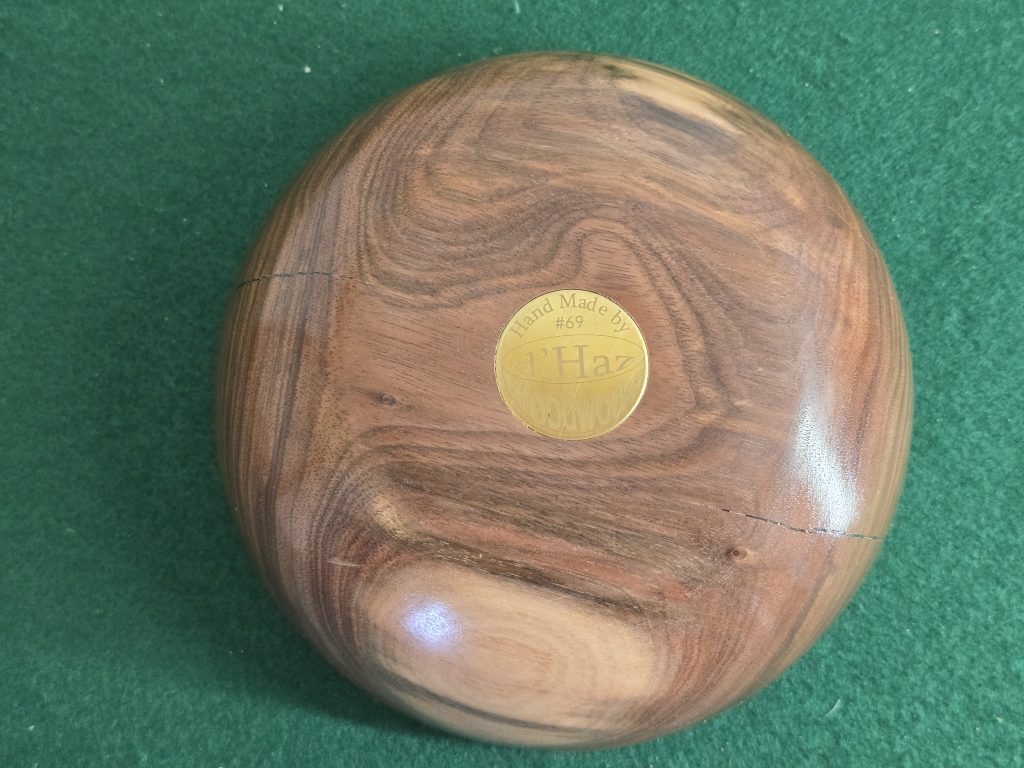
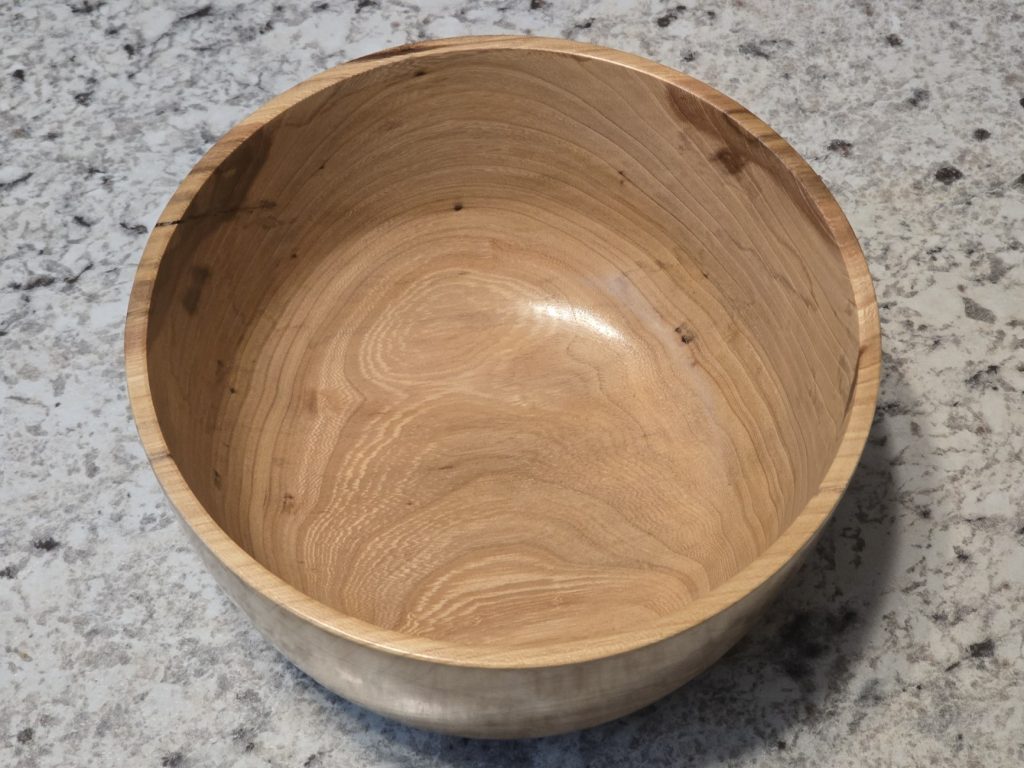
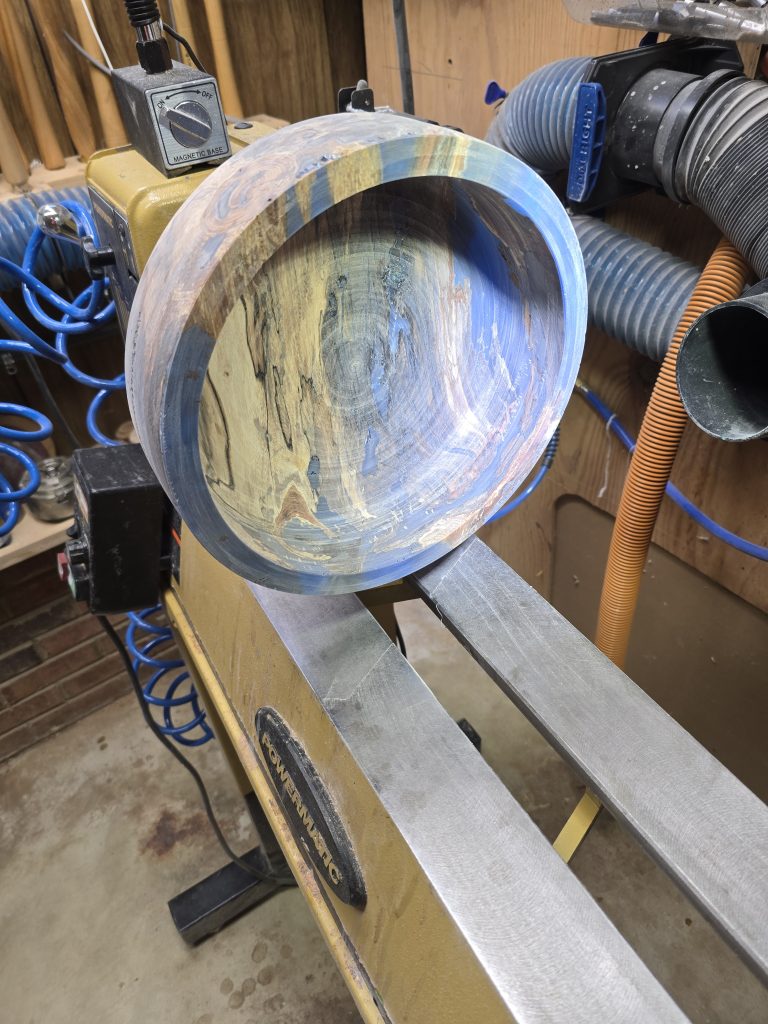
This is a large bowl made from elm. It still needs another coat of finish on the interior and upper exterior. The tenon (which holds the bowl to the lathe) still needs to be removed and the bottom finished.

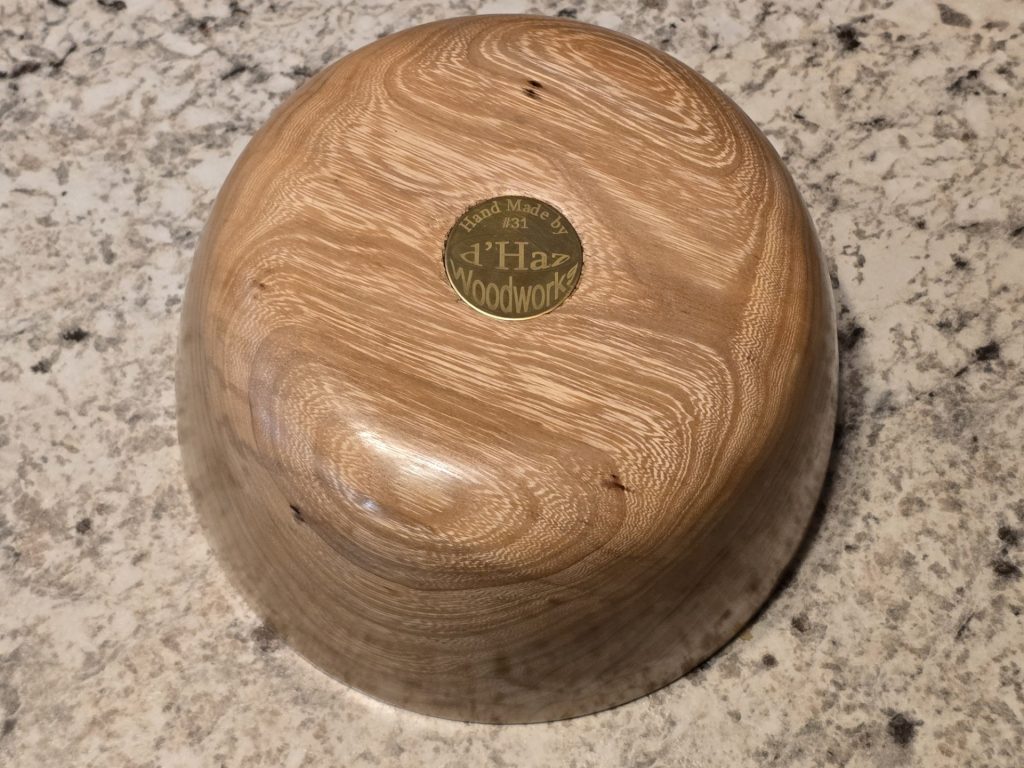
The bottom tenon was removed, and the bottom was sanded, sealer applied, buffed with tripoli compound and first round of finish applied.

Project 89 Purple Vase

I have taken a couple pieces of very weathered and grub infested log sections and as a first step cut them to size and spent a good deal of time cleaning the undesired material out. The wood is very weak and punky, so stabilization before the epoxy is being tried.

One of the pieces cut, cleaned of crud and stabilized. Now the excess stabilization needs to be cleaned off.
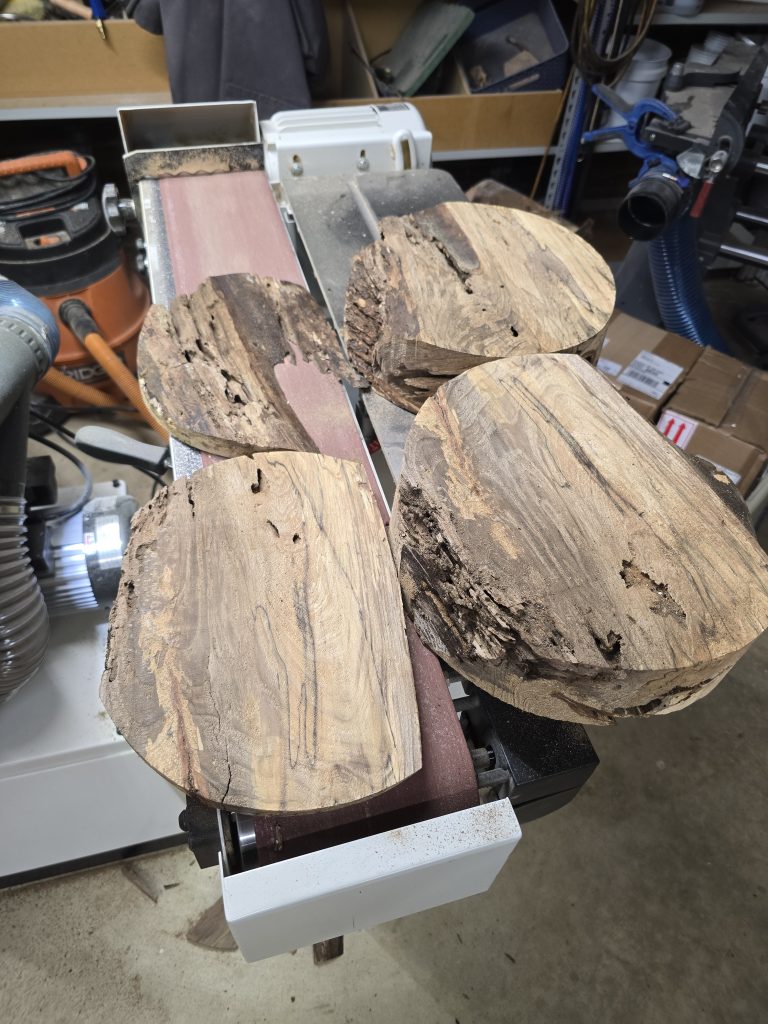
The four primary pieces for the bowl casting.
Vacuum chamber containing the wood pieces in the stabilization fluid before turning on the vacuum pump. The added marbles are to take up some of the volume between the pieces. The stabilization liquid is quite expensive, so I use the marbles to fill gaps.
With the vacuum applied, lots of foam comes to the surface. This process took about 24 hours with the vacuum being cycled on and off.
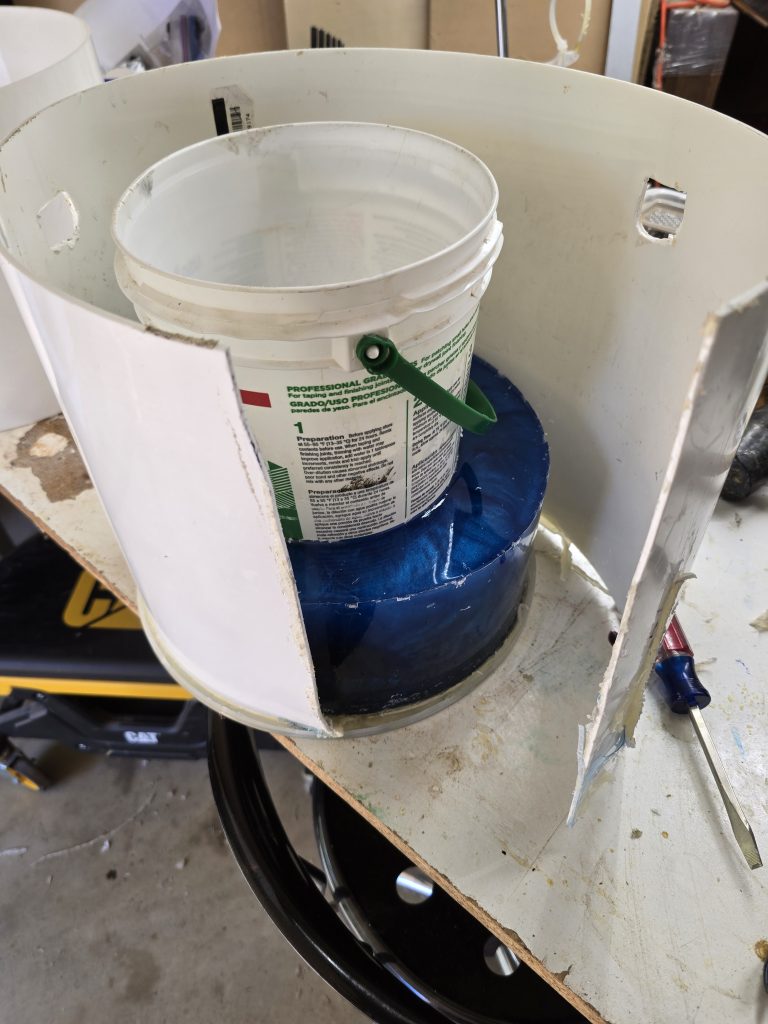
Project 89 – had to modify the bucket to fit into the pressure pot which will come after adding epoxy to the bucket in the vacuum chamber.
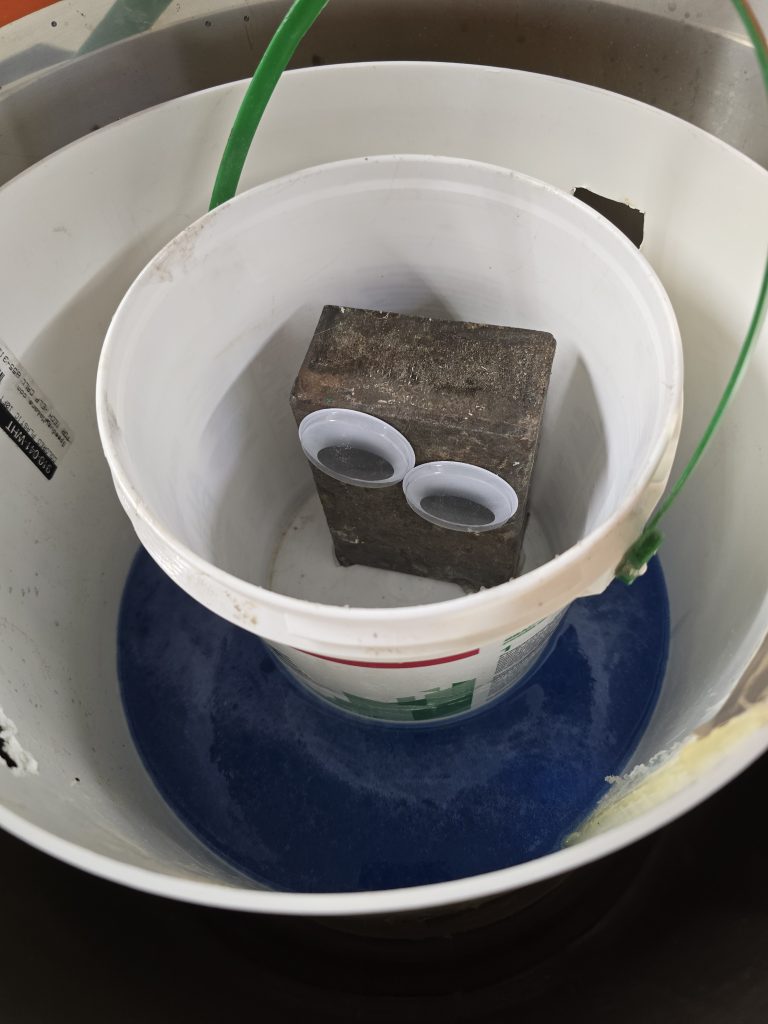
Project 89 – Added the wood strips and steel block to keep the wood from floating. Most of the pieces likely would not have been problematic as they were stabilized before, but didn’t want trouble. My daughter gave me the googly eyes for the steel block as another turner, @SpragueWoodturning on Youtube, has googly eyes on his rock called Dwayne. I shall call my steel block “BOB” after the Ironman actor.
Project 89 – BOB seems to be floating in the bubbles of the epoxy as the vacuum sucks them out of the submerged wood. The project, including BOB, is now in the pressure pot at 60psi for a few days.
The casting after being removed from bucket.
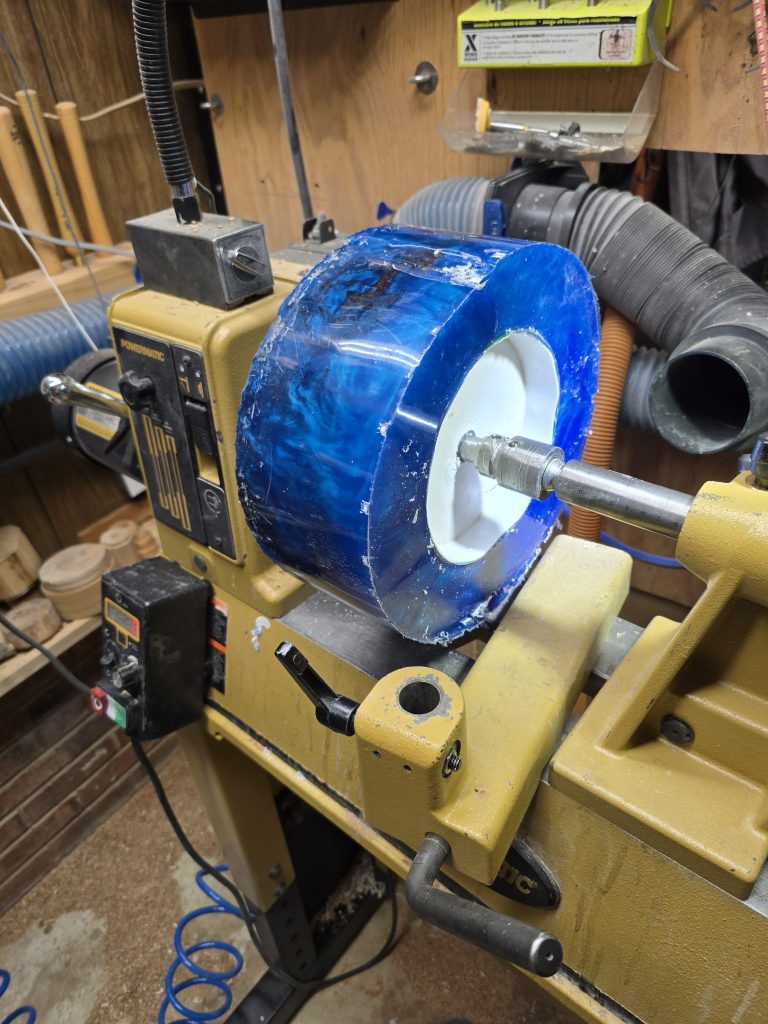
Casting mounted on the lathe. This casting is heavy and was a challenge to attach. Plan to start turning next week during some cool morning.
This is what you get with epoxy turning.
Rough turned it today and trying to decide on the final shape. Shop is too hot to do more today.
Made a small weir to control added copper colored epoxy to a hole in the base. Also filled other small holes.
Added a tenon on the base and reversed the project on the lathe. Here I have attached my home-built stead-i-rest to stabilize the blank while I hollow out to make the vase.
Hollowing has started.
I removed the tailstock, lowered the extention and moved the headstock to the other end so I can work outboard and so better able to work deeper into the vase.
I changed the taper and added beading near the bottom. A coat of clear epoxy was added after rough sanding to fill small voids. I will then reattach it to the lathe once set and sand to a fine finish before adding the finish coats. Then I will work on the bottom.
I removed the tenon from the bottom and sanded it to 180 grit. I then did an epoxy coating and once that had fully cured, I sanded the bottom to 600 grit and drilled the countersink for the medallion. Finally I wiped on a sanding sealer. Next week I will buff it down and apply the final finish.
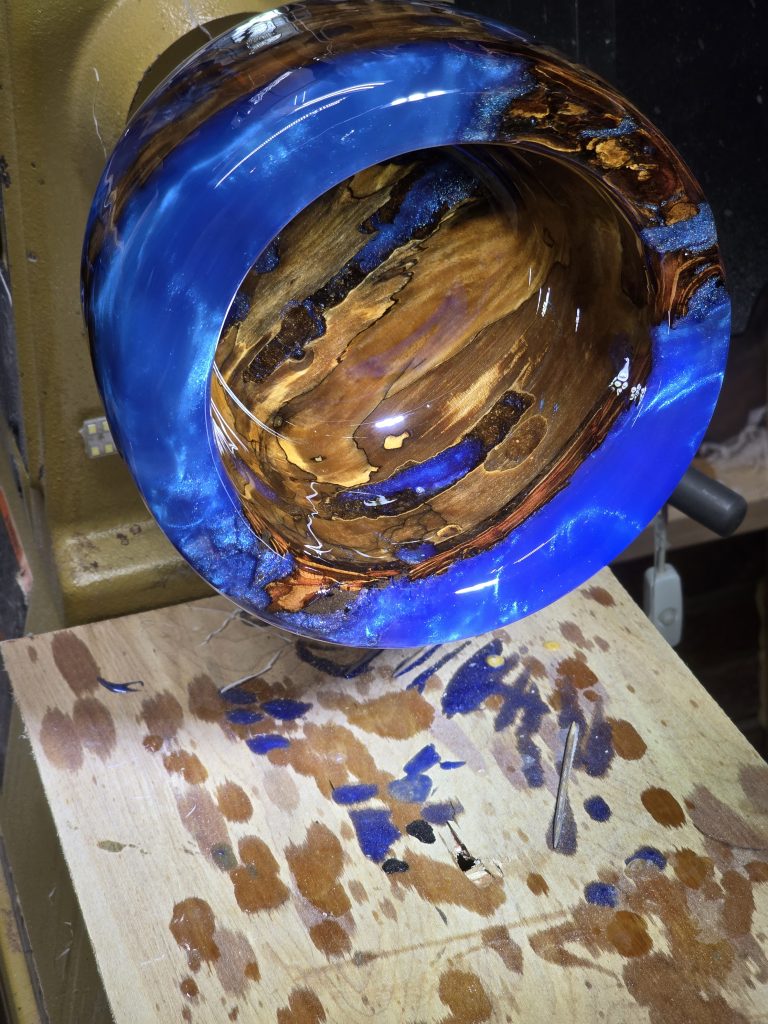
It is finally finished. Many coats of finish combined with multiple buffings. It weighs 12.1 pounds – not light.

Project 91

The block has been drying for some years. It was not marked, but the grain is looking like sweet gum.
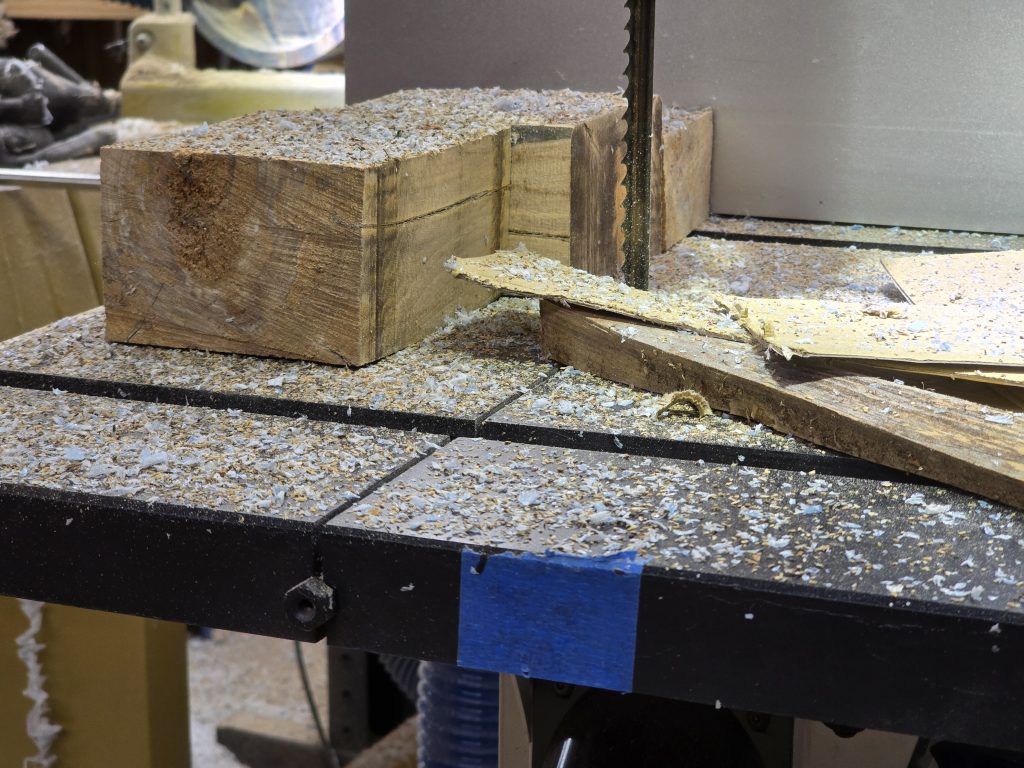
The excess that was cut off using the circle jig. These parts may end up in another project. Love the grain.
Rough turned the blank and found it quite punky, so will stabilize it before going further. Steel ring was used to mount the blank to the lathe chuck. Too hot to stabilize today.
Tenon made on bottom.

Current Projects

Project 103 is cast – 2026-09-05 Click here

Project 102 is cast – 2026-09-05 Click here

Project 101 is a dogwood crotch with light green epoxy and is being finished – 2026-09-05 Click here

Project 100 is an em bowl with a rose fill and is being finished – 2026-09-05

Project 96 is finished – 2026-09-05 Click here

Project 89 is done- 2026-09-05
Click here.

Project 91 is a wooden dice tray about 11″ in diameter with lovely grain and is finishedClick here.

Project 90 is doneClick here.

Project 93 goblets are done – 2026-08-01
Click here.